- puget sound fiesta -
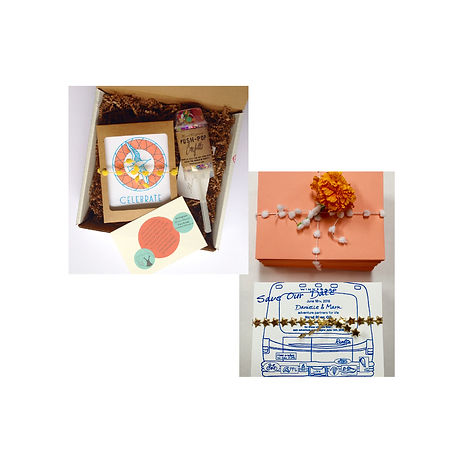
The theme of the invitation and RSVP card came from local food and flowers and the couples’ love of nature hikes and their lovely backyard garden and sweet chickens! Each image was hand drawn and then cut out of paper like how we all used to make snowflakes when we were kids. The chili is an ode to a wish for the couple to always have a bit of spice!
-
Letterpress Invitation with envelope
-
Letterpress RSVP card with envelope

THE


woodblock printmaking process
design
Designs are hand drawn on tracing paper or large sheets of butcher paper. Tracing paper is great for being able to easily move and change the composition before the image is transferred to the block of wood. To begin means keeping the end result in mind. The block of wood will be mostly carved away and the final image will be a mirror of the original composition - so you have to be thoughtful about carving any letters.


carving
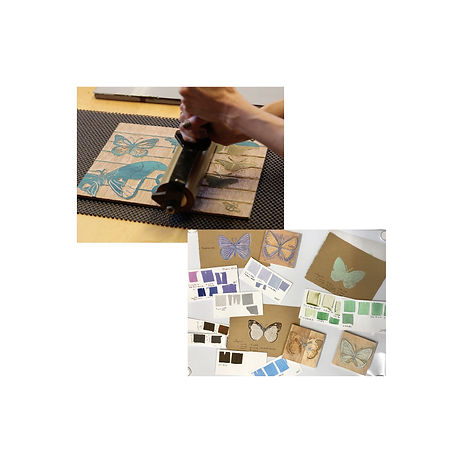
Woodcut prints are made using a reduction cut technique. This technique involves carving on a single block of wood. Oftentimes by the end of the printing process, most of the wood will be carved away. Before carving begins, the print edition (the total number of prints) is thought out ahead of time and all paper is sized and ripped to its final size. Once you carve a layer away, you can’t go back! Each color after it is inked and pressed onto the paper is eventually carved out on the same block of wood. There are many different carving tools used in a variety of sizes, from 1mm v-gouges to 18mm u-gouges.
After the design is on the wood block but before ink is applied, any and all areas where the original paper color is desired to be shown, that particular area of the woodblock is carved away first, it is the original raised surface of the block that eventually gets inked and will be transferred to the paper. Essentially, anything you want to “keep,” must ultimately be carved away after it is printed. Carving away the block after each layer is what makes each final print a truly limited edition original.
inking
When an area of wood is carved out and all paper has been ripped to it final size, it is time to ink the block. Brayers of multiple sizes are used to smoothly roll the ink onto the wood. Each layer that is carved will get its own color of ink. A variety of oil and water-based inks are used depending on the design. Once the block has been inked, the paper is laid on top and it then gets rolled through the printing press or pressed by hand (you can use a variety of tools from a wooden spoon to a baren). Inking on a layer is repeated until all pieces of paper in the edition have been printed. Now it is time to go back and carve for the next color layer - remember, anything you want to keep the color you just printed, must be carved out.
*Every single piece of paper is touched multiple times. A 3-color woodblock with an edition of 30 will be rolled through the press or be hand pressed a total of 90 times.
finishing touches
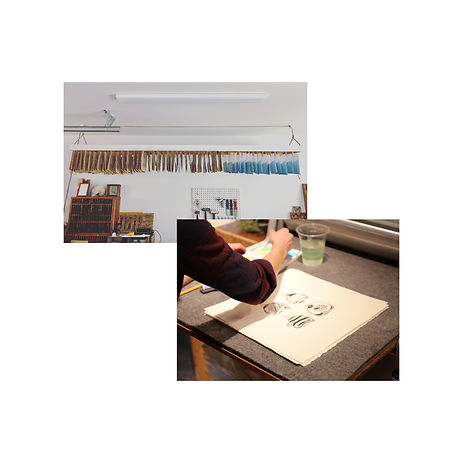
Between each inking layer, the prints are hung up to dry. A print can take anywhere between a few days to a few weeks to completely finish depending on the design. After the print edition has completely dried it is time to add the finishing touches! Final touches can involve adding a special logo stamp or watercolor details, writing each print edition number, title of the new piece, artist’s name, and year, is found below the image. The new original prints are ready and excited to adorn the walls of a brand new home!

letterpress printmaking process
design
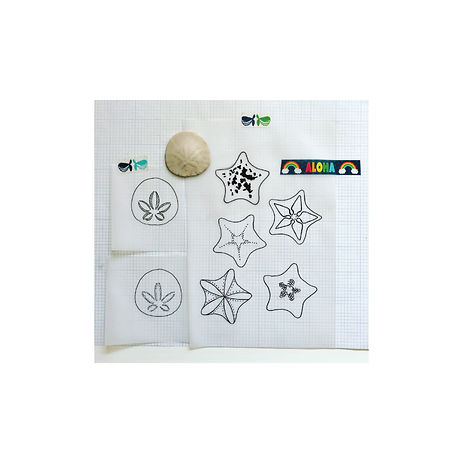
Designs are hand drawn on tracing paper. It is nice to be able to see how the different elements can move and interact with one another before the final design is decided. Once the drawing and composition is good to go, the drawing is either scanned and digitized to be made into a plate for the letterpress, or it is transferred to a block of wood for carving.
platemaking
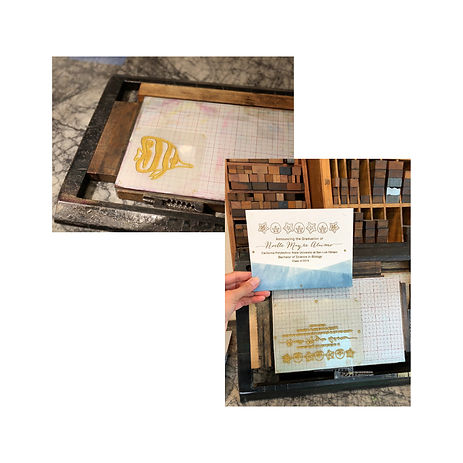
Images to be printed can be made one of two ways: Carved as a woodblock or made into a photopolymer plate. To make a plate, each illustration is scanned into the computer where it is then set up to be made into a plate. A plate is basically a big sticker, and who doesn’t love stickers! Each color in the final design that will be pressed into the paper is made into a separate plate, which is then placed on the press for printing.
printing
All letterpress printing is done on an early 1930’s Chandler and Price Platen Press. Once the woodblock or plate is on the press it is now time to set all the small print details...make sure the plate registers up with the paper and the impression is uniform. The set up often can take a fair bit of time, a half hour to a few hours. Ink is added to the platen (large round disc) and once everything looks good on a few test prints, it is time to officially print the job!
Each color requires its own plate (that includes black and a blind impression, which is no color but leaves an impression) its own inking mixing time, and registration and set-up, so everything lines up just right!

finishing touches
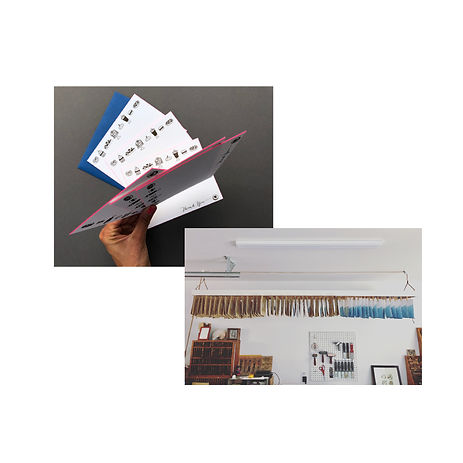
The job is almost done! It just needs its finishing bells and whistles. Details include anything from trimming to folding, foil stamping, edge painting and more. Each job is packaged up with a little love and then it is ready to head out the door and into your hands!
packaging
All packaging is done here at the studio… a little love and it is ready to head out the door into your hands.
